
Floral Fancies Notes

Course Outline and Materials for Class
Class 1: Colour
What materials will we need?
After our first class you will need to print out the downloadable PDF here and get your colour pencils ready! Please don’t worry if you don’t have a colour printer, you can keep the handout open on your computer to copy the colours.
Class 2: Stitches
What materials will we need?
Embroidery hoop, threads, scissors, fabric (cotton/linen 30cm x 30cm).
Do we need to prepare anything?
For our second class you will need to print the pattern below and transfer it to your fabric using a heat erasable pen. Please download the PDF pattern here and instructions for how to do so are below!
Class 3: Preparing your Fabric
What materials will we need?
Embroidery hoop, scissors, needle.
The colour blending sampler and your samplers from Samplers of Seduction 1 & 2.
Cotton & Metallic threads, beads, sequins.
Printed fabrics that you would like to use for this project.
Do we need to prepare anything?
It would be great if you could gather your materials, printed fabrics, threads (cotton and metallic if you have them), beads, and sequins, so that you can consider them during the class.
Class 4: Getting Started
What materials will we need?
Embroidery hoop, scissors, needle, threads, transfer pen, floral fabric, sampler.
Do we need to prepare anything?
If you prepare your design (photocopy of floral fabric), including directional line/stitch direction, tonal bands and colour scheme (thread colours). Also, if you outline the first section of your floral fabric with the transfer pen, that would be great.
Class 5: Remember all the other Stitches!
What materials will we need?
Embroidery hoop, scissors, needle, threads, transfer pen, floral fabric, sampler.
Do we need to prepare anything?
If you bring your sampler and your floral fabric that will be plenty! I’ll be reminding you of all the other stitches we know and love, so you can join in or just watch!
Class 1: Colour
I hope you enjoyed our first class and you're looking forward to a relaxing week of colour blending - fantastique! The artists I mentioned are Josef Alber and Georgia O’Keeffe, we looked at embroidery from the Royal School of Needlework and botanical illustrations from the Eden Project. The beautiful watercolour notebook is by A.Boogert.
Presentation and Recording
The Presentation is available here as a downloadable PDF and the Recording of our class is below…
I’ve added instructions for how to transfer your pattern for next Sunday below!

Some inspiration, or maybe even motivation! I’ve been having fun this week colouring in our homework. I doubt it will be finished by Sunday, but it’s been very relaxing and pleasant!
Kim has suggested this book, Your Brain on Art: How the Arts Transform Us by Susan Magsamen and Ivy Ross. It’s added to my booklist already, merci beaucoup Kim!


Class Recording on Sunday the 11th of February
Again, I’m so sorry for the technology issues on Sunday, especially for all of you who woke up at such early hours or stayed awake into the wee hours. Everything has been fixed, I found the replacement yesterday and I’m ready for our next class on Sunday. I think it will be easiest if I add another class at the end of the course on Sunday the 10th of March. That way we don’t have to rush through any of the other classes to catch-up. Hopefully that works for all of you, and we have the recordings as well, so it seems to be the best solution.
On another note, it was really lovely to chat to you on Sunday! Here’s the link to the press release for the Timorous Beasties exhibition at the Toile de Jouy museum: Toile Tales. The recording of our chat is below and the password is: Floral.
See you on Sunday,
Rebecca

Class 2: Stitches
What materials will we need?
Embroidery hoop, threads, scissors, fabric (cotton/linen 30cm x 30cm).
Do we need to prepare anything?
For our second class you will need to print the pattern below and transfer it to your fabric using a heat erasable pen. Please download the PDF pattern here.
Presentation and Recording
The Presentation is available here as a downloadable PDF and the Recording of our class is below…
Suggestions
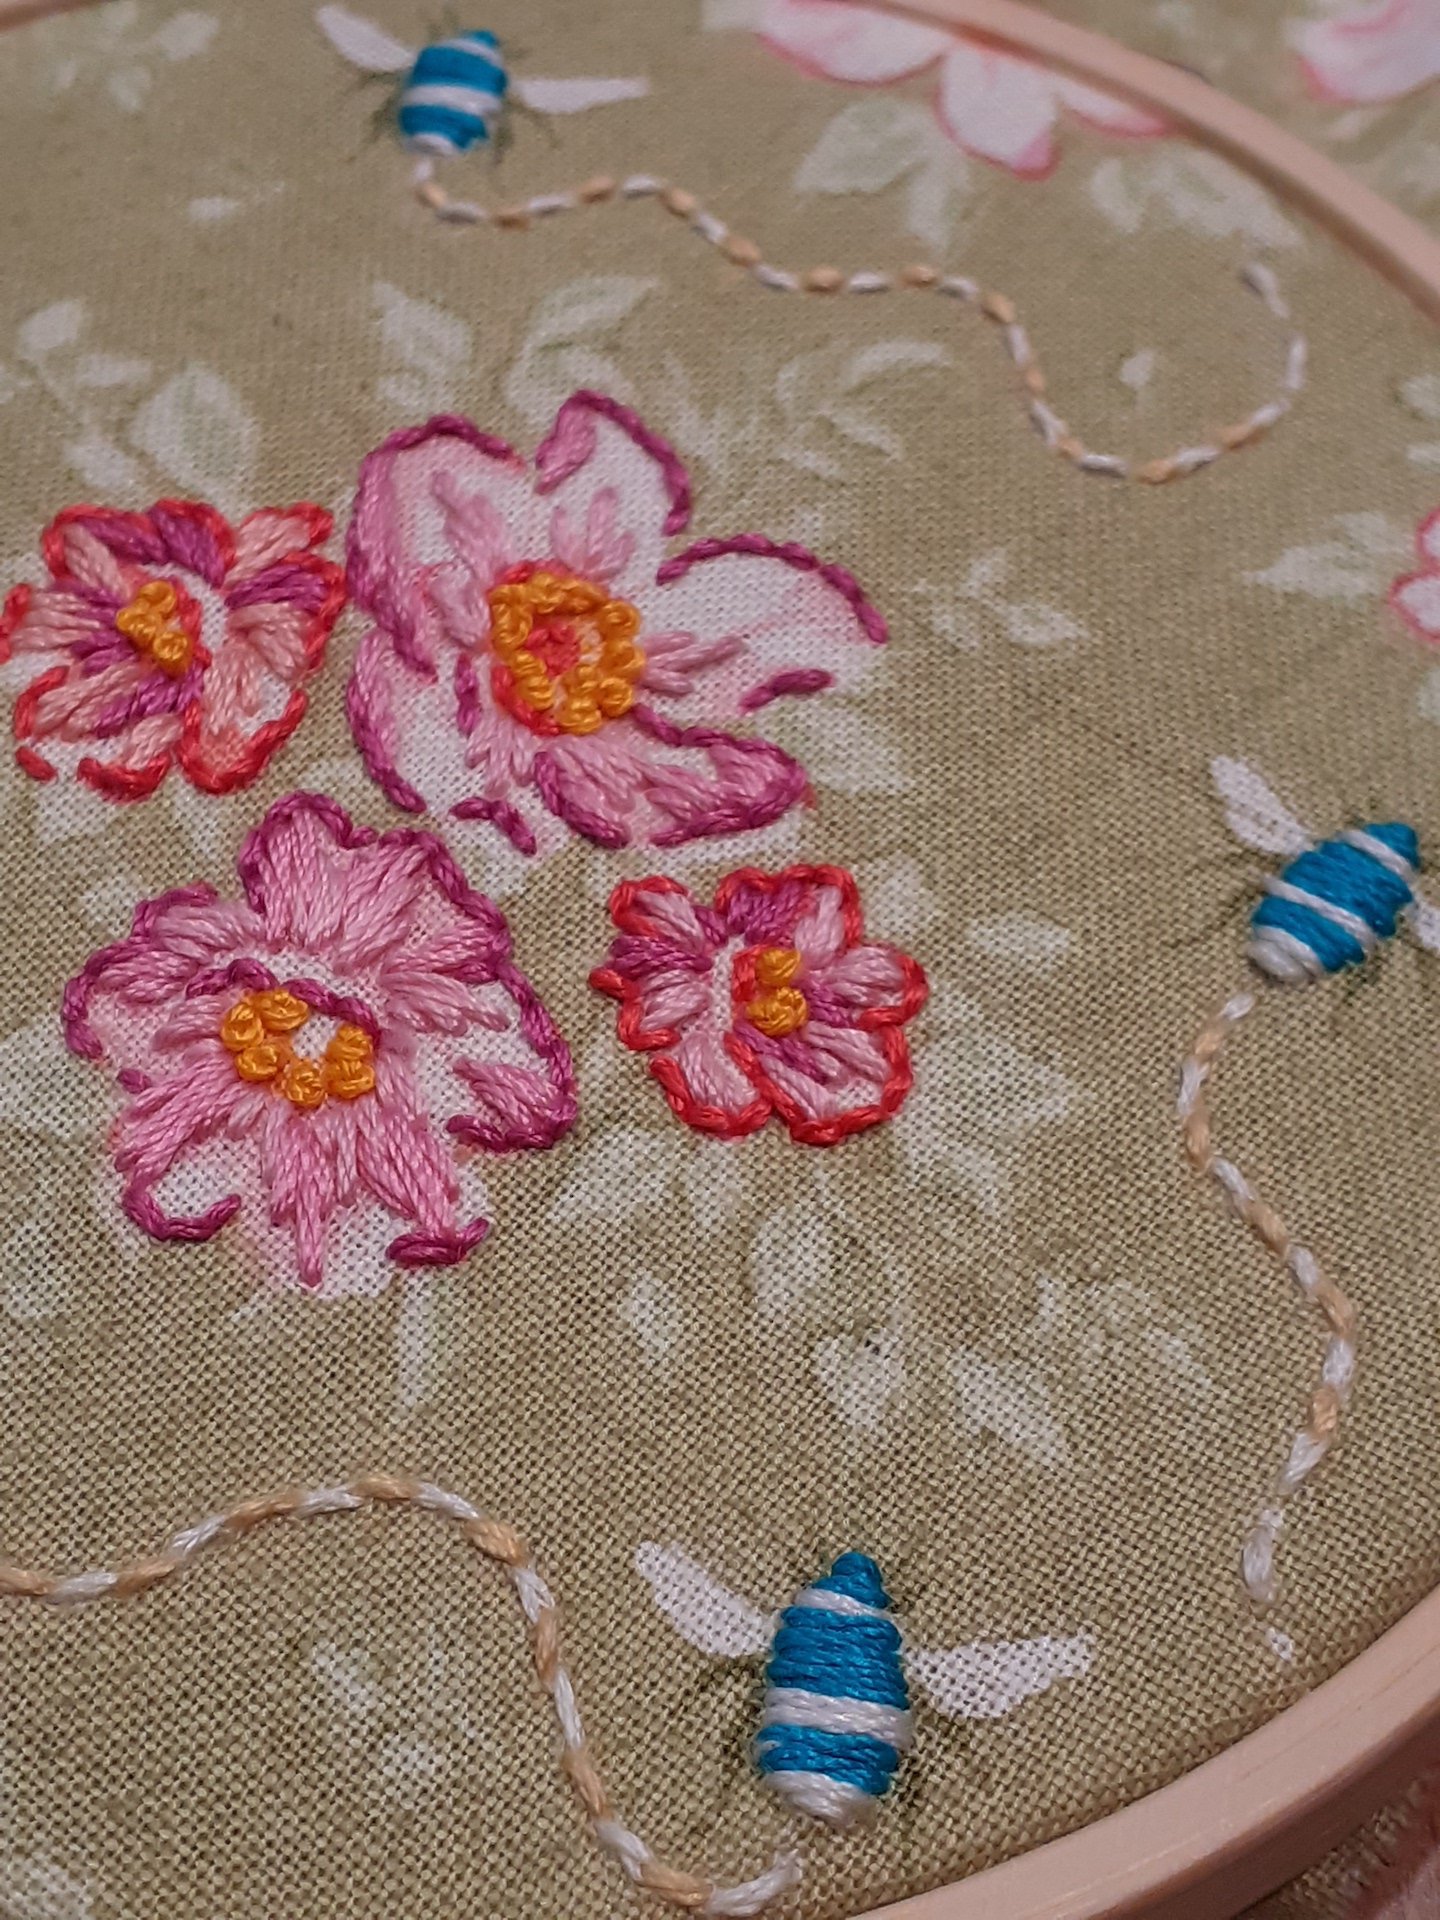
Please continue the rectangle we began together so you can practice blending your colours with thread and then see how that technique works in the petals of the flower below.
You don’t need to do all the petals, but it would be great to practice on 3 or 4 of them. Try changing the colours in the petals as well, you can begin with primary and secondary (red, orange, yellow) and progress by adding tints or shades (dark red, red, pink). You can continue by blending from a hue to a tint (red, pink, light pink).
You can challenge yourself by doing the longer rectangle, the scale in the presentation will help you choose your colours and remember to skip a shade and a tint when you are choosing your threads. Bon courage!
The needlepainting artist I mentioned is Trish Burr, who collaborates with Inspirations magazine.
Class 3: Preparing your Fabric
What materials will we need?
Embroidery hoop, scissors, needle.
The colour blending sampler and your samplers from Samplers of Seduction 1 & 2.
Cotton & Metallic threads, beads, sequins.
Printed fabrics that you would like to use for this project.
Do we need to prepare anything?
It would be great if you could gather your materials, printed fabrics, threads (cotton and metallic if you have them), beads, and sequins, so that you can consider them during the class.
Presentation, Notes and Recording
The Presentation is available here as a downloadable PDF and here is a brief guide on how to create your own Design Pages. The Recording of our class is below…
Suggestions
If you would like to try the techniques I showed you in class for your own printed fabric, it’s lots of fun and think you will really enjoy it!
Artistic License - Express Yourself and have some Fun!


Class 4: Getting Started
What materials will we need?
Embroidery hoop, scissors, needle, threads, transfer pen, floral fabric, sampler.
Do we need to prepare anything?
If you prepare your design (photocopy of floral fabric), including directional line/stitch direction, tonal bands and colour scheme (thread colours). Also, if you outline the first section of your floral fabric with the transfer pen, that would be great.
Threads of Connections
I’m relaunching my private Facebook group called Threads of Connections. Hopefully it will grow to be a lovely place for you to share your embroidered adventures & inspiration, support & encourage each other! It would be fantastic if you shared the images of your fabrics, colour schemes, stitch notes & embroidery designs.
Recording & Presentation
The presentation is available here as a downloadable PDF. The Recording of our class is below …
Suggestions
If you would like to outline your petals in back stitch and then begin the embroidery, ready to continue next week. If you feel you need to, you can return to the sampler and practice the long and short stitch a bit more before working on your finished piece. The 3 tutorials for the long & short stitch are just below and I’ve managed to add them to our Facebook group! To enlarge the tutorials to full screen here, on the bottom bar where you press play, hover over the four arrows until ‘fullscreen’ appears and then you can view in fabulous detail and please ignore the strange background noises from Paris!


Class 5: Remember all the other Stitches!
What materials will we need?
Embroidery hoop, scissors, needle, threads, transfer pen, floral fabric, sampler.
Do we need to prepare anything?
If you bring your sampler and your floral fabric that will be plenty! I’ll be reminding you of all the other stitches we know and love, so you can join in or just watch!
Recording
The Recording of our class is below and th presentation is here as a downloadable PDF…
Let’s Keep in Touch!
I’m delighted with the Threads of Connections group on Facebook and thank you so much for sharing your work and encouraging each other! I love seeing your colourful photos, beautiful designs and all those gorgeous threads! Do please keep on sharing over the next few weeks until we meet again.
On that note, I’ve had another look in my diary and Wednesday the 27th of March is better - it will give you two weeks to continue working and adding finishing touches. I’ll send an email to all of you today about that with a Zoom link as well. I often don’t see the finished projects, so I’m really excited about this!
Floral Fancies Soirée
It was lovely to see you last Wednesday for our Floral Fancies Soirée! Please find the recording below and a PDF1 and PDF2 of the presentation here. The password is: Floral.
Please continue to add your embroideries to the Threads of Connection Facebook group - it will keep us all inspired!
Floral Fancies
Bonjour,
I'm delighted you signed up for the Floral Fancies course! This course will be slightly different from our previous courses in that I will ask you to have a selection of printed fabrics. In the first class we will work together to design a colour scheme and in the second class we will practice deciding which stitches to use. Then you will choose your favourite printed fabric from your collection, select your thread colours and plan your stitches. Over the next few classes we will focus on needle-painting using the humble long and short stitch we learned in Samplers of Seduction.
What materials will I need?
You will need the following materials:
Embroidery Hoop
An embroidery hoop, preferably 15 - 17cm in diameter.
Needle
A needle, preferably with a big eye, so it's easy to thread
Fabric
Please have a selection of printed cotton or linen fabrics. If you’re like me you probably have a lovely stash of printed fabrics that you have gathered over the years. Make sure your fabric is at least 25 x 25 cm.
Transfer Pen
Such as the Pilot Frixion (or equivalent) heat erasable pen.
Embroidery Threads
Retors de Nord from Sajou and Soie d'Alger from Au Ver a Soie are my favourites, but DMC and other brands will work just as well!
What colour threads should I choose?
As you know by now, buying threads is one of my favourite things to do, it's such a pleasure and I’m sure at this stage you will have quite a collection too! We will be working on colour schemes in the first class so you may want to wait until after that to purchase new threads. Our colour schemes will depend on the printed fabric you choose to use, so if you are eager to buy threads before class try to choose colours that are inspired by the colours in your fabric.
Scissors
This is to cut your fabric and threads so a small embroidery or sewing scissors will be perfect (and any other scissors will do really).
Colour Pencils
We will be using these to work on our colour schemes. A set of 24 colour pencils would be ideal.
Printer
In this course I’ll be sending you exercises to do, so it would be great if you can print them out in advance, ready for class.
Scanner
I’ll also be asking you to scan your chosen printed fabric but if this is not a possibility, you can photocopy it. Again, if this is not a possibility you can photograph it and then print out the photograph.
Sampler
You will need to bring your sampler from Samplers of Seduction - we’ll be putting that stitch dictionary to good use!
How to Transfer the Pattern
To print out the pattern, it’s A4 size, regular printing paper.
To prepare your fabric, simply iron it. If you have a piece of cotton or linen fabric that measures 30 x 30 cms, that’s perfect!
What about wobbly edges?
If the edges of your fabric are a bit wobbly, don't worry, you can straighten it very easily. Using a scissors, cut into the fabric a good 3-4cms from the edge. Make the cut 5cms in length. Next, tear the fabric using your hands and you will have a perfectly straight edge that follows the weave of the fabric. You can repeat this on the remaining 3 sides. If you are having difficulty tearing the fabric either make the cut longer (6-7cms), or make the cut further from the edge (5-6cms). If you use this technique, it's important that you iron the fabric again. You may have some threads that have drawn (puckered or gathered) and you simply guide them back towards the edge, pinching with your thumb and index finger.
Next, it’s time to transfer or trace the pattern…
To transfer the pattern, place it on a flat surface and I would recommend taping it in place so it doesn't slip. Next place your fabric over the pattern and position it carefully so that the pattern is in the center. Again, I would recommend taping the fabric in place as well so that it doesn't slip when you are working.
If it’s difficult to see the pattern through the fabric, simply trace over the lines using a marker or felt tip pen. Make sure it's dry before placing the fabric over it!
If it is impossible to see the pattern through the fabric for whatever reason, tape it to the window, position the fabric over it, tape it in place, and then transfer it.
If you have a Lightbox, hooray! Use this :)